DailySmirk

Overview
Project
DailySmirk is a peer assessment tool created to help mentors and peers to help evaluate group contributions. Peers rate each peer every day based on an emoticon scale (Deep red, red, yellow, green, deep green).
01
Getting on Board
From User to Co-Designer.
During the first testing phase of DailySmirk, I was one of the users in my Software Engineering class. I was interested in the concept and sent a very long email with feedback. Seeing my interest Andre my professor at the time and Yu my teacher's assistant brought me on board for the second iteration of DailySmirk.
My Role
-
Create wireframes of designs based on specific guidelines
-
Present wireframes and thought processes behind them
-
Collaborate and discuss different methods and options to display information
-
Iteratively improve wireframes
Duration
Fall 2022 - Present
Members
Yu Lu - Research Led
Aileen Tran - Research Assistant
Andre van der Hoek - Mentor | Professor of Informatics
Tools
Communication: Zoom, Google Chats
Design: Figma, FigJam

Design Process Thinking
02
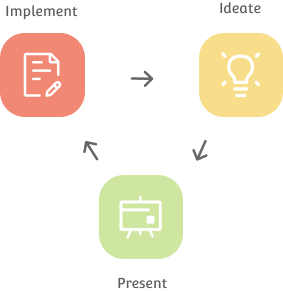
Based on the stage of the project and my role, the design thinking process was tailored to our weekly meetings.
Implementing Feedback
03
Based on post-class surveys and feedback we compiled and focused on key elements we wanted to implement in the next phase of the DailySmirk.
Key Points:
Ability to view, edit, and add previous evaluations
Optional comments for peers
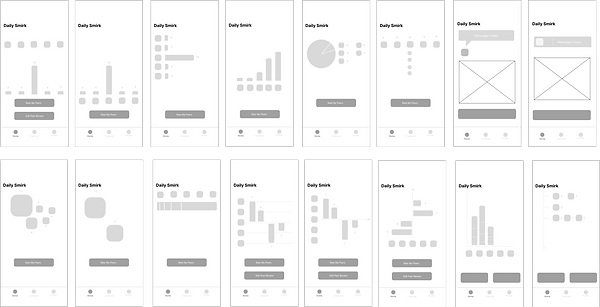
Ideate
03
My ideation process began with creating wireframes. First creating wireframes of the current design and places where the new features could be added.
Alternative Ideas and Design.
Based on feedback from Andre I realized that I focused so much on implementing of new features, I neglected to truly design.
Going forward I kept in mind:
How could I design this differently?
What sort of design would be best for the user?
Define
Though not explicitly stated, defining the main characteristics of the design was key in the design process.
The keywords simple design and rapid use stood out over Yu and my weekly meeting.
Defining characteristics helped us to narrow down which design we thought was best to implement.
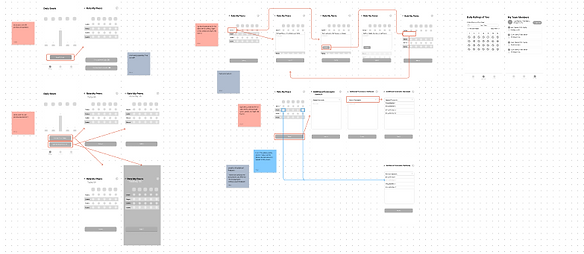
Presenting | Documenting
05
Each week I would meet with Yu to discuss the wireframes and ways to iterate on them. However, when we first started I had no idea how to present them. What way would be best to present them? How would anyone know what was going on if I wasn't there presenting it? How would someone know the flow?
The wireframes needed more context.
So I searched for ways to present wireframes. The first result that really popped out to me was user flow. Using arrows to show how interacting with different elements would take you to different pages (wireframes). I also added descriptions and further questions under every wireframe to document for future reference.
Next Steps
06
After finalizing the wireframes I created the high-fidelity prototype to mimic what the user would see.
Yu the research head is in the process of coding the page. Once it is done we will begin another round of user testing in another one of Andre’s classes.
Next we start the design process again for the instructors’ view!
